
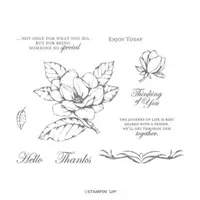
Layers of pretty soft colors and a sweet sentiment combine for a lovely spring card. I just love the Good Morning Magnolia stamp set and the coordinating Magnolia Lane Designer Series Paper. They have been the highlight of the 2019-2020 Stampin’ Up! Annual Catalog. As a new catalog is going to be released on June 3rd, it seems good to highlight the best items in the outgoing catalog, and this is one of the best!

The colors used here blend so well together and give a very soft look to today’s card. A little gold was used for “bling”!
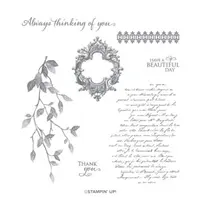
The card base of Crumb Cake card stock was layered first with a 5-3/8″ x 4-1/8″ piece of Bird Ballad Designer Series Paper. Then a 5″ x 3-3/4″ piece of Soft Sea Foam card stock was stamped in Crumb Cake ink and the cursive lettering stamp from the Very Versailles stamp set. It was then distressed with Paper Snips. A 4-3/4″ x 3-1/2″ piece of Vellum card stock was glued on top for additional softness.


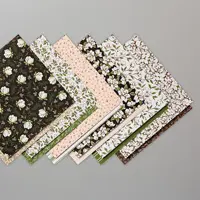
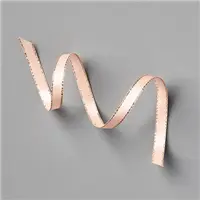
A 3″ x 2″ piece of Magnolia Lane Designer Series Paper was distressed on the edges; a 3″ x 2″ piece of Whisper White card stock was embossed with the Country Floral 3D Embossing Folder and then distressed. Petal Pink Metallic Edged Ribbon was tied in a bow around this piece and the Whisper White piece was adhered to the other piece with Multipurpose Glue. Both of these layers were then adhered to the Vellum piece at an angle using Stampin’ Dimensionals.

Using Paper Snips, I fussy cut a pretty magnolia flower and attached leaves from a piece of Magnolia Lane Designer Series Paper. The flower was adhered to the lower left side of the Whisper White layer with Stampin’ Dimensionals. The sentiment was stamped in Versamark ink on a scrap of Basic Black card stock. Be sure to wipe the card stock first with the Embossing Buddy. Dust the ink with White Stampin’ Emboss Powder and set with a Heat Tool. Cut the sentiment apart with Paper Snips and adhere to the card as shown with Mini Stampin’ Dimensionals. Add a few Gilded Gems for bling!

Don’t forget to check out the newly refreshed Clearance Rack! There are some great deals over there!
Thank you for stopping by today! Happy Stamping!

If you like today’s post…
- Shop Online Anytime and Earn FREE GIFTS
- Join my Sweet Stampers Team of demonstrators – click for info
- The $99 Starter Kit is the best deal of ALL! Discounts & benefits here.
- Sign Up for my Blog Posts and Newsletter
- Follow me on Pinterest
- Find me on Instagram
- Save 10% on Product Bundles
- Peggy’s FREE You Tube Video tutorials

Here are the products used on today’s card. Click on any item to find out more and to order!


How do you “distress” card stock or designer series paper?
Thank you so much for your comment on my blog today! To distress card stock or designer series paper you “rough it up” with your scissors. I have a video tutorial that demonstrates how I do it. Here is the link for you:
https://youtu.be/OGYbZhIsdsw
There are also distressing tools out there and you could search online for them, but I find that my scissors do the trick 🙂
Thanks again for stopping by my blog, and Happy Distressing! 🙂
Your card is GORGEOUS!!!! Love the distressing and all the layers, not to mention doing the sentiments on black CS with white embossing powder!
Thank you so much for leaving a comment today on my blog! I so appreciate it. Hopefully my card gave you some inspiration to create 🙂
Thanks again!
Thank you Peggy for sharing your beautiful card along with the details! I’m going to try to case it but it’ll be a lesson for me in distressing. Thanks again!
Love the layers and the sentiment is perfect.
Another lovely card, with an especially apropos sentiment for the times!
So beautiful! Love all of the layers!