
At this time of year we always need cute gift card holders. Today’s project is an easy gift card holder and the measurements and a video tutorial are included 🙂
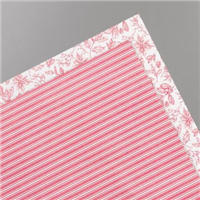
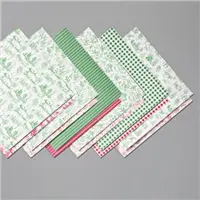
The main elements for this project are card stock and designer series paper. I’ve used Very Vanilla card stock and the pretty Toile Tidings Designer Series Paper.
You will need two pieces of Very Vanilla card stock: one 8-1/2″ x 3-1/2″ scored at 2″ and 6″; and the other, a scrap piece measuring approximately 4″ x 2.” You’ll need three pieces of designer series paper: (1) 3-1/4″ x 1-3/4″; (2) 3-1/4″ x 2-1/4″; and (3) 3-1/4″ x 3-3/4.” Round the top two corners of the 2″ top flap of card stock using the Detailed Trio Punch. Also round two corners of one side of the smallest piece of dsp Adhere the pieces of designer series paper to the back side of the Very Vanilla card stock using Multipurpose Glue.

Holding the card stock with the dsp to the back and the small 2″ flap at the top, fold up the lower section to create the pocket for the gift card. Apply Tear & Tape to the inside left and right sides of the lower section to adhere it in place (see video).

The hole for the ribbon was punched with the Detailed Trio Punch, and the 1/8″ Lovely Lipstick ribbon was run through the hole and around the gift card holder to be tied in a little bow.

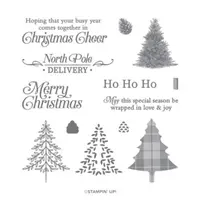
The Merry Christmas sentiment from the Perfectly Plaid stamp set was stamped on a scrap of Very Vanilla card stock using Lovely Lipstick ink. (NOTE: the Perfectly Plaid stamp set is carrying over into the spring! It’s such a great set.) It was then punched out with the Everyday Label Punch and attached to the front flap on each edge with Stampin’ Dimensionals. The ribbon was threaded under the label and tied in bow as shown above. A Toile Tidings Glitter Enamel Dot was added to the label for a bit of bling!!
DISCOUNTED NOW THROUGH JANUARY 2:

Here are the products on sale until January 2nd! Take advantage of the sale while you can!


Thanks for stopping by today!

- Shop Online Anytime and Earn FREE STAMPS
- SHOP and SAVE: Clearance Rack – save up to 70%
- Join my Sweet Stampers Team of demonstrators – click for info
- Sign Up for my Blog Posts and Newsletter
- Save 10% on Product Bundles
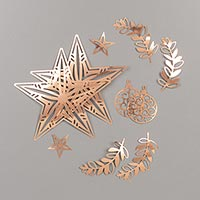
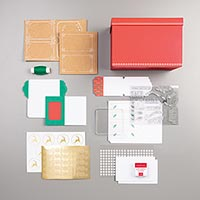
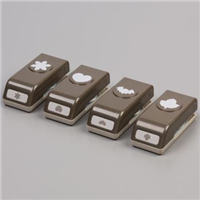
Here are the items used on today’s project:


Very cute and fast gift card. Thanks for sharing.
Linda D
Was looking for ideas and this is adorable. Thanks for the tutorial; my mom and I are looking forward to trying this together (in blue!!)
How do you make an enevlope for these to mail?